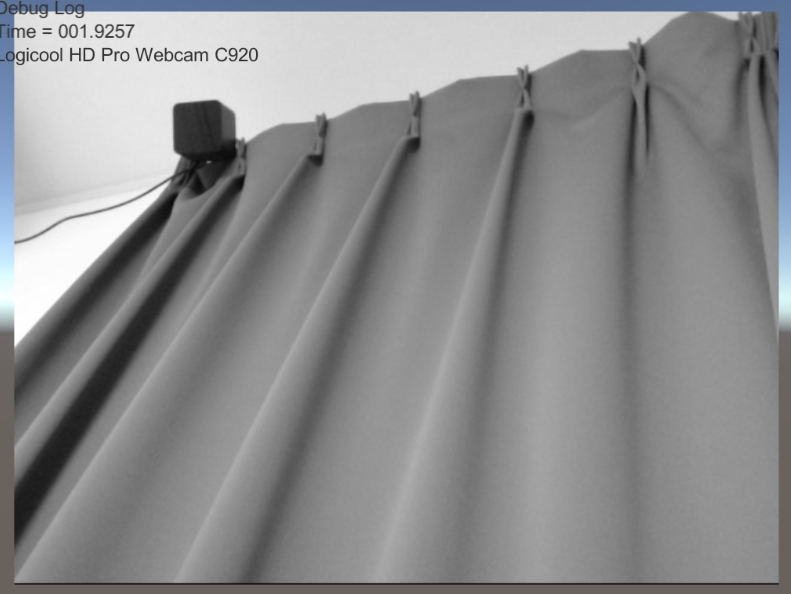
ひとつ前の記事で Compute Shader を Android で実行するサンプルを載せましたので、今回はその Compute Shader を使ってカメラ画像をリアルタイムに処理します。

できました!
これからリアルタイムカメラ画像処理を Compute Shader で行う際は、以下のコードをコピペして使っていこうと思います。
using System.Collections;
using System.Collections.Generic;
using UnityEngine;

public class DeviceCameraBehaviour : MonoBehaviour {

    // Histogram Gather
    public GameObject resultCube;
    public ComputeShader RGBA2GRAY;
    public Texture2D Source;
    RenderTexture _result;
    int _kernelIndex = 0;
    ComputeBuffer _HistogramBuffer = null;
    uint[] _emptyBuffer = new uint[256];
    uint[] _histogramBuffer = new uint[256];

    // Device Camera
    string _activeDeviceName = "";
    WebCamTexture _activeTexture = null;

    // Use this for initialization
    void Start () {

        _HistogramBuffer = new ComputeBuffer(256, sizeof(uint));
        for (int i = 0; i < _emptyBuffer.Length; i++)
        {
            _emptyBuffer[i] = 0;
        }
        _HistogramBuffer.SetData(_emptyBuffer);

        _kernelIndex = RGBA2GRAY.FindKernel("KHistogramGather");
        RGBA2GRAY.SetBuffer(_kernelIndex, "_Histogram", _HistogramBuffer);
    }

	// Update is called once per frame
	void Update () {

        if (null != _activeTexture && _activeTexture.isPlaying && _activeTexture.didUpdateThisFrame)
        {
            if (null == _result)
            {
                _result = new RenderTexture(_activeTexture.width, _activeTexture.height, 0, RenderTextureFormat.ARGB32);
                _result.enableRandomWrite = true;
                _result.Create();
                RGBA2GRAY.SetTexture(_kernelIndex, "_Source", _activeTexture);
                RGBA2GRAY.SetTexture(_kernelIndex, "_Result", _result);
                RGBA2GRAY.SetVector("_SourceSize", new Vector2(_activeTexture.width, _activeTexture.height));
                _HistogramBuffer.SetData(_emptyBuffer);
                resultCube.GetComponent<Renderer>().material.mainTexture = _result;

                resultCube.transform.localScale = new Vector3((_activeTexture.width/(float)_activeTexture.height), 1, 1);
            }
            RGBA2GRAY.Dispatch(_kernelIndex, Mathf.CeilToInt(_activeTexture.width / 32f), Mathf.CeilToInt(_activeTexture.height / 32f), 1);
        }

        if (Input.GetKeyDown(KeyCode.Space))
        {
            Debug.Log("Time = " + Time.time.ToString("000.0000"));
            PlayDeviceCamera();

        }
        for (int i = 0; i < Input.touchCount; ++i)
        {
            if (Input.GetTouch(i).phase == TouchPhase.Began)
            {

                // Construct a ray from the current touch coordinates
                Ray ray = Camera.main.ScreenPointToRay(Input.GetTouch(i).position);
                // Create a particle if hit
                if (Physics.Raycast(ray))
                {
                    Debug.Log("Time = " + Time.time.ToString("000.0000"));
                    PlayDeviceCamera();
                }
            }
        }
    }

    private void PlayDeviceCamera()
    {
        WebCamDevice[] devices = WebCamTexture.devices;
        for (int i = 0; i < devices.Length; i++)
        {
            if (0 != string.Compare(_activeDeviceName, devices[i].name))
            {
                if (null != _activeTexture)
                {
                    _activeTexture.Stop();
                }
                _activeDeviceName = devices[i].name;
                _activeTexture = new WebCamTexture(devices[i].name);
                _activeTexture.Play();
                RGBA2GRAY.SetTexture(_kernelIndex, "_Source", _activeTexture);
                _result = null;
                Debug.Log(devices[i].name);
                break;
            }
        }
    }
}
任意の解像度を指定するとか、細かいことをこの後入れていく感じですね。
同じコードで Android の方でも、リアルタイムカメラ画像処理できることを確認しました。